How to set up your workflow
First head to the HubSpot workflows tool, and create a workflow. The workflow action is only available in a deal-based workflow, you can ignore the Invoice workflows as these only work with HubSpot's own payments platform.
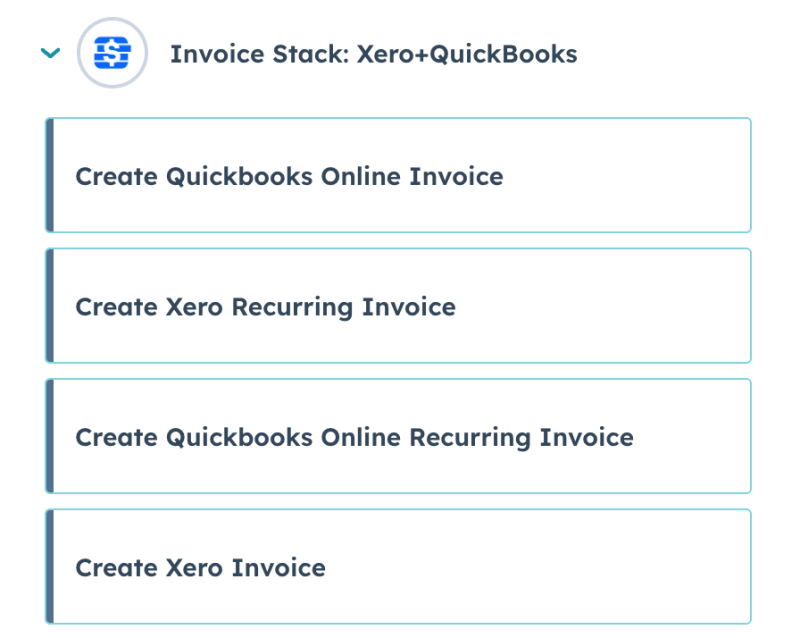
When adding an action you should see the Invoice Stack action "Create QuickBooks Online Invoice" or "Create QuickBooks Online Recurring Invoice" - click to add the action and you'll see the settings page.

Choosing your settings
Within the actions window you'll see the following options:
| Field | Options | Description |
| Connection | Shows your QuickBooks accounts | Select which QuickBooks account you'd like to use. Invoice Stack supports multiple QuickBooks accounts. If you see nothing listed here, please ensure that you are on a trial, Pro or Enterprise plan, and have connected up QuickBooks in your dashboard. |
| Invoice Contact | Company associated to deal | We'll use the Company associated to your HubSpot deal to search for a contact inside QuickBooks |
| Contact associated to deal | We'll use the email address from the Contact associated with the HubSpot deal to search for a contact inside QuickBooks | |
| Specific QuickBooks contact | If you know the internal QuickBooks Contact ID of the contact, you can specify it here (this contact ID is synced back by Invoice Stack in a deal property) | |
| Create contact if not found | When checked, Invoice Stack will create the contact inside QuickBooks using the data from the associated HubSpot Company or Contact. If you selected company, you'll need to define an email address (as this is not a default property in HubSpot) | |
| Invoice Date or Start Date | If recurring, start date is the date of the first invoice | |
| When workflow is triggered | Sets the invoice date to the date the workflow runs | |
| On deal close date | Sets the invoice date to the close date set in the deal | |
| Use a deal property | Choose a deal property to use as the Invoice Date (this should be a date property) | |
| Start invoices the same day | (Recurring invoices only) QuickBooks Online only generates invoices for recurring invoices overnight, to overcome this, if you're starting invoices the same day you create the recurring invoice, then Invoice Stack will generate a one-off invoice for today, then adjust the term automatically. | |
| Invoice Frequency | (Recurring invoices only) How often the invoice should be created | |
| Term | (Recurring invoices only) How many invoices should be created | |
| Terms | Choose from the terms you have set up inside QuickBooks e.g. Net 30, Net 15 | |
| Message | This is the message that shows to the customer when you send the invoice | |
| Custom Fields | Set up to 3 custom fields to fill out on your invoice, note that the first 3 string-based fields will show here. In the first box, choose the field, then choose the value in the following box. | |
| Line Items | Which line items do you want to include on the invoice | |
| All | Include all line items attached to the deal in your invoice | |
| Filter | Include only some line items - choose a line item property to filter by (e.g. only include a certain product) | |
| Split | Include all line items attached to the deal but split by a percentage value - you can then choose the percentage, whether you'd like to split the quantities and specify text to append. This works best if you have multiple actions chained together, e.g. one for 30% then the next action for 70% | |
| Only Weekly/Monthly/Quarterly/Annually | (Recurring invoices only) Only include line items with the billing frequency set to the relevant option | |
| Taxes | ||
| Use default | QuickBooks will automatically calculate taxes for taxable line items | |
| Override default | Choose a custom tax rate from a list to override the defaults |
Remember, the great thing about Workflows in HubSpot is that you can branch them and create multiple variations - so if you need to, for example, not charge certain customers tax, you could branch based on the country, and create a new workflow action with slightly different settings.
Then all you need to do is turn your workflow on and Invoice Stack will run.
See your invoices in HubSpot
The great thing about the workflow action is that it's fully compatible with the rest of Invoice Stack. So, when your invoices get created they are visible in the sidebar next to your deal. You can even go in and manually add additional invoices.
Invoice Stack will update your HubSpot deal properties when the invoice is created, or whenever anything changes in QuickBooks, such as the invoice getting edited, paid or going overdue.
HubSpot workflows also has some really powerful debugging tools, so if your invoice generation has failed for any reason, you'll be alerted of this inside the HubSpot workflows, along with an error message (e.g. Could not find contact).
