
💡 Want to learn more about Products in Invoice Stack? Check out this guide first
Getting Started
You've got your products all set up in QuickBooks or HubSpot and you want to make sure they match across both systems.
The most important things for Invoice Stack are:
- Your SKU codes in your HubSpot line items match the SKU inside QuickBooks (read more about this)
- Accounts and Tax statuses are set on your QuickBooks products (read how to set this up)
If you have a small number of products, it may be easiest to just ensure the SKU codes are matching, but if you have many products or need to sync them, read on. If you have no products set up - then we generally recommend starting in QuickBooks. This is because you need to enter more info inside QuickBooks to add the accounts and tax rates.
Option One - Export from QuickBooks and Import into HubSpot
This is our recommended option as HubSpot has a much easier import flow than QuickBooks.
- Go to QuickBooks Online and choose Sales > Products & Services from the Menu
- Make sure the filter is only showing active products
- Choose the Export Icon on the top right of the table to export as an Excel file

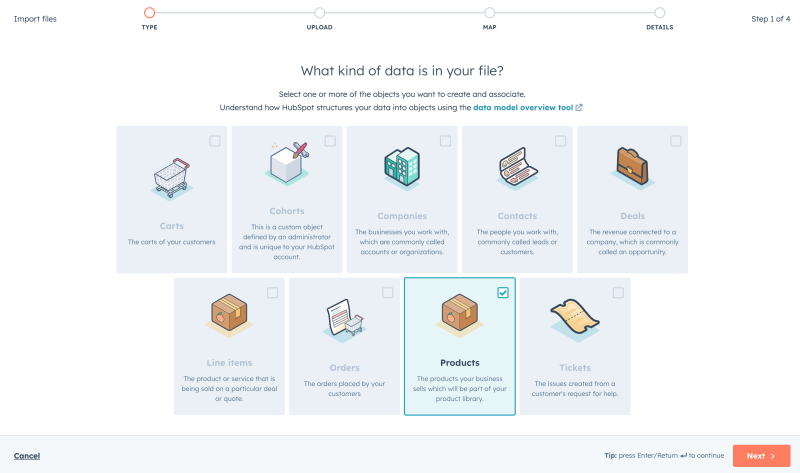
- In HubSpot, go to Commerce > Products and click "Add Data"
- Choose "Import a file" and select "Products" when choosing which type of data
- Upload your file and map the fields below
Fields to map:
| Columns from QuickBooks | HubSpot properties |
|---|---|
| Product/Service Name | Name |
| Sales Description | Product description |
| SKU | SKU |
| Type | Don't map |
| Sales Price / Rate | Price (in your currency e.g. Price USD) |
| Tax on Sales Price/Rate Includes Tax Income Account Purchase Description | Don't map |
| Purchase Cost | Unit cost (if set) |
| Tax on Purchases Purchase Cost Includes Tax Expense Account | Don't map |
Option Two - Export from HubSpot and Import into QuickBooks
- Go to HubSpot and choose Commerce > Products
- Check that the columns you'd like to import are showing in your view (We recommend SKU, Name, Price)
- Choose Export and CSV
- Go to QuickBooks Online and choose Sales > Products & Services from the Menu
- Click the arrow next to the New button and choose "Import"
- Upload your CSV file from HubSpot and Map the columns
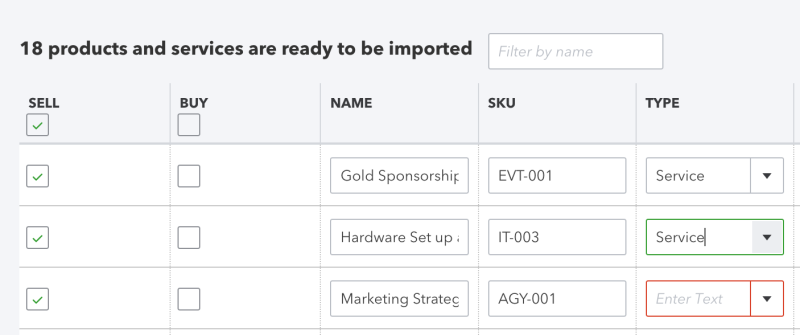
- On the next screen you can complete any missing data, for example making sure "Sell" is checked and completing Account and Tax information
Option Three - Use HubSpot's QuickBooks Data Sync App
Remember, Invoice Stack will take the pricing from your HubSpot line items on your quotes or deals, so you only need to keep the products in sync if you are adding and removing products often.
HubSpot have a free app on the App Marketplace that will allow you to sync Products and Contacts. It's safe to use alongside Invoice Stack but we recommend you do not sync Invoices.
You can choose to sync data in either direction. If you are Syncing to QuickBooks you will still need to make sure that account and tax rate are set in QuickBooks, you can add it later in QuickBooks.
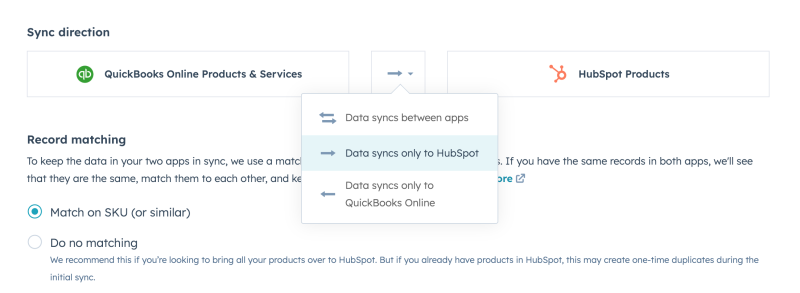
When mapping the columns the most important things are to make sure QuickBooks' SKU is mapped to HubSpot's SKU. This is one of the default settings.
If you need to map extra columns, you'll need a paid HubSpot Operations Hub subscription.
Find out more about the Data Sync settings on the HubSpot Knowledge Base